Introduction
Hey friend! So, you’ve got a digital micrometer and you want to keep it spot-on perfect, right? Well, you’re in the right place. This guide on digital micrometer maintenance: cleaning & battery tips is all about helping you care for your tool like it’s part of the family. We’ll cover everyday care, deep cleaning, battery TLC, calibration, and storage—served up in a warm, conversational tone, just like a chat over coffee. And honestly, imagine the confidence you’ll feel when your measurements never lie, every single time—it’s like a mini workshop celebration! I remember the pride I felt the first time I nailed a tolerance measurement precisely. Can you imagine that?
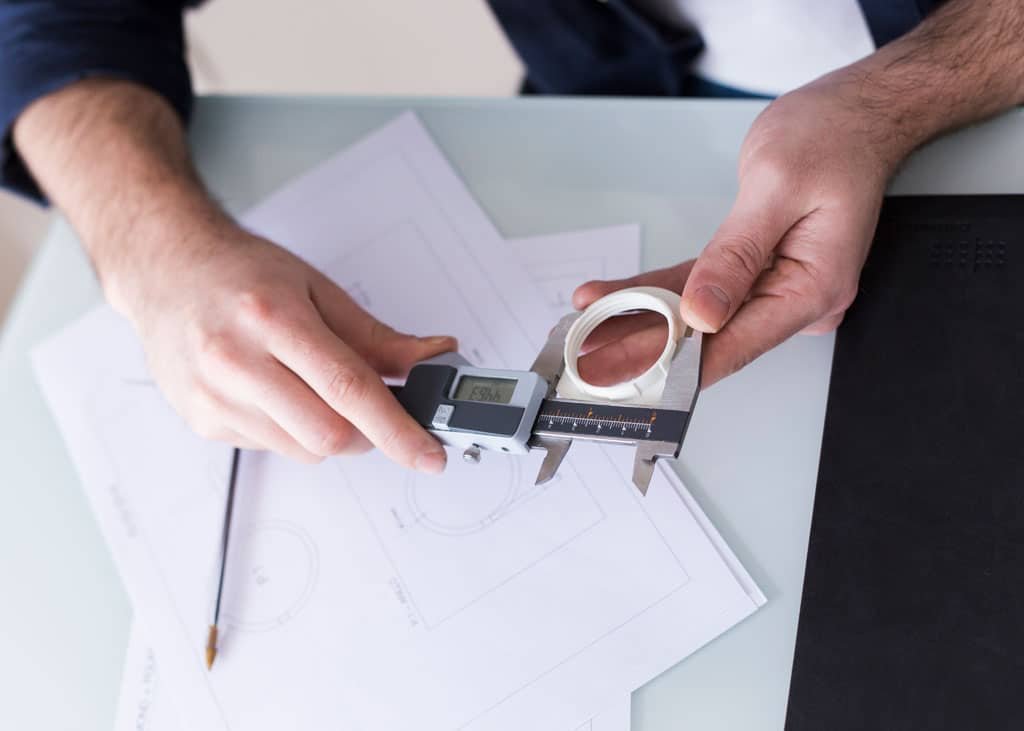
So, let’s dive in and treat your micrometer like the precision champ it is.
Why Proper Maintenance Matters
Precision is Everything
A digital micrometer measures to the nearest thousandth of an inch (or hundredth of a millimeter)—so even a speck of dirt can throw off your results. It’s gut-wrenching when a tiny error messes up your project—trust me!
Longevity = Save Money & Hassle
With regular upkeep, your tool can last decades—less stress, fewer replacements. Imagine the relief of avoiding unnecessary costs! It fills me with joy to know my tools have been serving well for years.
Safety & Reliability
In machining or inspection work, trust matters. When your instrument is accurate, your confidence soars. And that peace of mind? Priceless.
Daily Cleaning Routine
Little daily habits go a long way:
Wipe-Down After Each Use
- Grab a soft, lint-free cloth (microfiber works wonders).
- Gently wipe the anvil, spindle, frame—get rid of oil, metal dust, moisture.
- Optional: a gentle blast of compressed air for hard-to-reach spots.
Inspect Measuring Faces
- Look for burrs, gunk, or corrosion.
- If you spot something rough, gently smooth it with 600‑grit polishing paper.
- Wipe again—perfectly clean surfaces give reliable results.
Doesn’t it feel amazing when every reading is sharp and consistent, like your tool is saying, “I got you!”?
Deep Cleaning – When & How
Sometimes you need a heart-to-heart cleaning session—maybe monthly or after a messy job.
When to Deep Clean
- Monthly check-ins—or sooner if your workspace is oily or dusty.
- Anytime readings seem inconsistent or sticky.
Disassembly Basics
- Remove the battery first—safety first!
- Use the supplied wrench (or proper spanner) to gently open the thimble frame.
- Carefully set aside the electronics—keep moisture & solvents AWAY from the circuit.
Cleaning the Frame & Threads
- Wipe frame clean with isopropyl alcohol (a dab on a cloth).
- For scroll threads, use mineral spirits or light machine oil—run in/out to remove buildup.
- Don’t leave oil pools—wipe them off.
Cleaning the Anvils
- Alcohol on a soft swab removes most smudges.
- For tough dirt, moisten cloth with mild soapy water, dry thoroughly.
- Store with the faces slightly apart—never locked tight.
Cleaning Electronics Casing
- Gently wipe the LCD housing and controls with a lint-free cloth—just a touch of isopropyl for stubborn grime.
- Avoid scraping the seals or PCB!
Lubrication Tips
Ah, lubrication—the unsung hero of smooth operation!
Why Light Oil Matters
It keeps the spindle action smooth and protects from rust.
What to Use (and What Not To)
- Use sewing-machine oil or light instrument oil—nothing heavy.
- Avoid WD‑40 or thick grease—they can gum up threads.
- Reddit forums warn against WD‑40 on precision tools—it’s hydrophobic, but too slippery.
How to Lubricate
- Apply a drop to the thread.
- Run spindle in/out to spread it.
- Wipe off excess.
- Never over-oil—clean then lightly lubricate.
- Once cleaned, wait for surfaces to dry before adding oil.
Battery Care & Replacement
Digital micrometers need proper battery care to keep the screen alive and avoid leaks.
Choosing the Right Battery
- Most units use standard LR44 or SR44 button cells.
- Stick with a good brand and check specs—consistent voltage = consistent readings.
Signs of Low Battery & When to Change
- LCD fades, shows glitchy numbers, or shuts off.
- Follow the manual—usually when voltage drops below ~1.45V.
Removing Batteries for Storage
- If you’re not using it for a while, take the battery out.
- This prevents leaks and saves power.
- Store disconnected—don’t leave it inside just “in case.”
Cleaning Battery Contacts
- Remove battery and inspect contacts for corrosion.
- Use baking soda paste for acidic leaks, or vinegar/lemon juice for alkaline.
- After neutralizing, clean with isopropyl, dry thoroughly.
- Preventive tip: small drop of dielectric grease on fresh contacts—keeps moisture out.
Handling Electronic Glitches
Digital micrometers sometimes act up—but problems can often be solved easily.
Common Error Codes (on Accusize-style units)
- E1: Over-measured range—reset origin.
- E2: Origin exceedance—reset.
- E3/E8: Sensor error—try battery reset, else professional repair.
- LCD blurring or blank: usually low or disturbed battery—remove and reinstall battery.
- Data jumbled or skipping: again, likely low battery—replace it.
Quick Resets
- Remove and reinsert battery after a few minutes—often clears errors.
- If issues continue after multiple resets, send it for repair.
Disassemble? Nope!
- Don’t dismantle the electronics yourself—leave it to pros.
Calibration Best Practices
Accuracy is the name of the game—let’s keep that zero spot-on.
Zeroing Before Every Use
- Always close it gently (with the ratchet) and hit zero/ABS.
- Verify smooth ratchet action—no jamming!
Periodic Calibration
- Monthly or quarterly check using gauge blocks.
- Measure a calibrated block: reading must match.
- If off, adjust zero using sleeve wrench or use authorized lab.
Professional Calibration
- For top-tier accuracy, send it to ISO/IEC 17025-certified labs.
Proper Storage
Where you store it matters just as much as how you use it!
Leave the Spindle Slightly Open
- Don’t lock it tight—thermal expansion could warp it over time.
Environment Counts
- Store at ~20 °C (68 °F), moderate humidity—not damp, not under hot sunlight.
Use Protective Case
- Always store in its case—with wrench separate to avoid rattling impact.
Long-Term Storage
- Clean & oil lightly.
- Remove battery.
- Leave spindle slightly open (~0.2–2 mm).
- Close clamp, stash it in a dry, stable spot.
Common Pitfalls & Quick Fixes
Over-Torquing the Spindle
Using too much force can damage threads. Always use the ratchet stop for consistent pressure.
Measuring Dirty or Hot Workpieces
Uneven temperatures or particles cause bad readings—clean and cool parts first.
Ignoring Small Error Signs
A small drift today could ruin tomorrow’s precision. Be proactive—spot errors early.
Quick Reference Maintenance Checklist
| Frequency | Task |
| After Each Use | Wipe down, inspect faces, zero check |
| Weekly | Light clean & oil threads |
| Monthly | Full disassembly cleaning & lubricate |
| Before Storage | Clean, oil, remove battery, open spindle |
| When Battery Low | Replace battery immediately |
| Every Reading | Zero and retry for consistency |
| Every 3–6 Months | Calibration check with gauge blocks |
| Annually / Professional | Send for ISO‑certified calibration |
Conclusion
Alright, friend—there you have it, the ultimate guide to digital micrometer maintenance: cleaning & battery tips. We covered everyday cleanups, deep sparkly reads, battery protection, calibration, and smart storage—all wrapped in a friendly chat style.
Taking a few minutes regularly to care for your micrometer will save you stress, money, and disappointment in the long run. Think of it like tending a beloved garden—your diligence helps it flourish and perform beautifully.
I hope this guide gave you a boost of confidence and pride in looking after your tool. Can you imagine how rewarding it is to know you’ve cared for something well—and it rewards you back with perfect readings every time?
Happy measuring, and here’s to smooth precision days ahead!
Please read more about the best digital Micrometer.
FAQs
How often should I clean my digital micrometer?
- After every use, wipe it down. Weekly, give it a light oiling. Monthly, do a deep clean if needed. Before long storage, clean thoroughly and remove the battery.
What battery does my micrometer use?
- Most use standard LR44 or SR44 button cells. Check your manual and use a reliable brand to maintain consistent voltage.
Can I use WD‑40 for lubrication?
- No way—WD‑40 is too slippery and can clog threads. Stick to light instrument or sewing-machine oil for best results.
What if my readings drift?
- Zero before each use. If drift persists, calibrate using gauge blocks. If it’s still off, get it professionally calibrated.
How should I store it long-term?
- Clean & lightly oil, remove battery, leave spindle slightly open (~0.2–2 mm), and keep it in its case in a dry, temperate spot (around 20 °C).